


 How Do Chickens Lay Eggs? Understanding Your Egg-Laying Chickens: Egg-laying chickens lay up to one egg per day at their peak. But how do chickens lay eggs? And how often do chickens lay eggs? The process takes 24 – 26 hours per egg. Eggs form from the inside out. They start with the egg yolk, egg white and egg shape.
Most flock raisers will tell you there’s something special about walking to the backyard and grabbing a few eggs for breakfast. Farm fresh eggs are protein-packed gifts. Families diving into self-sufficiency know this and love this.
But how often do chickens lay eggs? And how do chickens lay eggs? The magic behind each farm fresh egg is a 24-to-26-hour process, with much of the work happening overnight. At their peak, laying hens can lay up to one egg per day.
How do chickens lay eggs?
The biggest involvement for your hen is creating the eggshell. The shell defends the yolk from harmful bacteria and keeps the chick or yolk safe. Hens spend much of the egg formation process making sure the calcium-rich shell is strong and protective. When the lights are off and the hens are sleeping, that’s when most of this internal work happens.
The fact that shells are created at night is clear when looking at the egg formation timeline. For example, if a hen started the process at 7 a.m., she would create the eggshell starting around 12 p.m. She’d continue for 20 hours during the evening and through the night.
To ensure your laying hens achieve a consistent supply of calcium through a blend of oyster shell, vitamin D and manganese, all Purina® premium layer feeds are infused with the Oyster Strong® System. This exclusive system utilizes larger particles of oyster shell to provide a slow and steady release of calcium during the night when hens are forming eggshells. Vitamin D is like the taxi that gets the calcium into your hen’s bloodstream where it’s needed, while manganese helps strengthen and create the structure of the egg.
Here is an approximate timeline for how an egg is formed:
Yolk release (1/2 hour):
Each female chick is born with thousands of immature yolks, known as chicken ova. For most chickens, the ova begin to develop into yolks when the hen is 18 weeks old. Once a yolk has been selected to develop, it spends the next 10 days growing. When it is time for the yolk to be released, it breaks out of its protective membrane and drops into the infundibulum or the beginning of the oviduct. This release takes about half an hour.
Initial egg white is created (3 hours):
First, as the egg enters the hen’s reproductive tract, the egg white begins formation, starting with a clear, protective yolk casing called the vitelline membrane. Second, when entering the magnum, layers of thick and thin proteins, known as the albumen, create the egg white. Third, as the contents travel down the oviduct, they spin. This spinning motion causes the formation of the chalazae or the white, stringy pieces you see in an egg. The chalazae’s role is to keep the egg yolk in the center of the egg instead of sticking to the shell.
Egg shape is formed (1 hour):
Just before the egg enters the shell gland, it spends an hour in the isthmus. While there, the inner and outer shell membranes are added around the albumen and the contents begin to take on the oval shape you expect.
Eggshells are formed (20 hours):
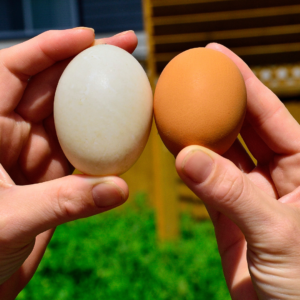
The most significant piece of the egg formation process happens in the uterus or “shell gland” of the hen. The developing egg spends about 20 hours in the shell gland. The shell forms there. Eggshell color is added during the last 5 hours.
The shell formation takes the most amount of time to complete. It is important that the hen is fed a diet that contains the proper nutrition, so she has the nutrients needed to make the eggshell as strong as possible. A solid shell is the best defense against bacteria that will try to get inside the egg.
Eggshell formation requires about 4 grams of calcium per shell; 2 grams of which must come from the hen’s diet. Hens that lack proper calcium levels typically produce soft or brittle eggshells. Sometimes an improper calcium balance can cause hens to pull calcium from their bones to produce eggshells, weakening their overall skeletal structure.
Kissimmee Valley Feed can help you learn more about How Chickens Lay Eggs and how to insure proper nutrients.Visit us! We are open Mon-Fri: 8:00 am – 6:00 pm and Sat: 8:00 am – 2:00 pm at our Main Store at 1501 Eastern Ave. You can also contact us by phone at 407-957-4100. We are open Mon-Fri: 9:00 am – 7:00 pm and Sat: 9:00 am – 5:00 pm at Store #2 at 215 13th Street. You can contact us by phone at 407-892-4040.
Article Source: Purina Mills
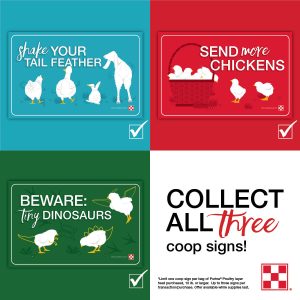 Flock-Tober 2021: Shop at Kissimmee Valley Feed’s Main Store during October and get a FREE limited-edition coop sign when you purchase a large bag of Purina Layer feed*! These signs are popular and we will run out!
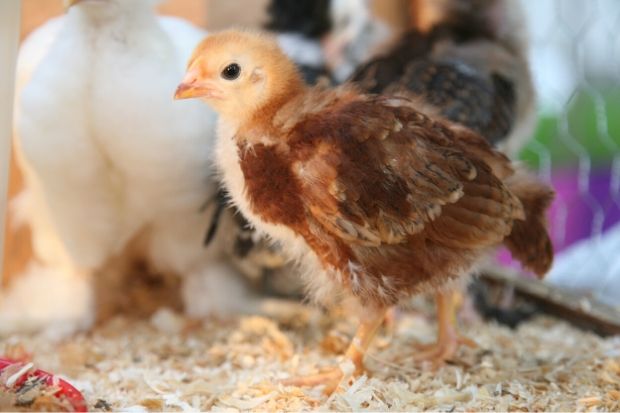
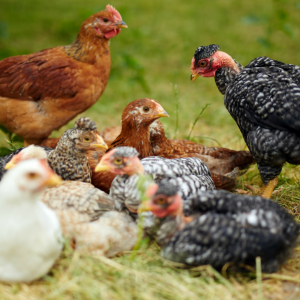 Wondering when it’s time to begin transitioning chickens to layer feed? For backyard chickens, most egg-laying breeds reach adulthood at 18 weeks and lay their first egg— perfect timing when you can start your chickens on layer feed.
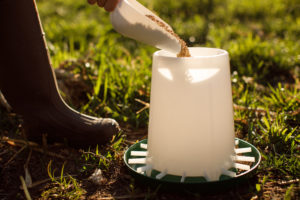 We think about summer feed storage and keeping feed the right way and serving it to your flock in the most efficient way. This can save you time and money. We all know summer brings heat! As well as important considerations when storing poultry and any other pet or livestock feed.